
I am sure there must be a mnemonic-al way to Unreal’s collision configuration, independent from C++ or blueprint. Maybe Stephen’s explanation can demystify parts of the collision. In this blog-post I shall attempt to create an appropriate mnemonic device using abstraction(s).
In Unreal, UPrimitiveComponent is the scene component class with collision specific data and render-able geometry. Any specific object, that you see placed or spawned in the level, having certain shape, probably has a scene component derived from UPrimitiveComponent. The collision settings are configured in the details panel of the appropriate blueprint

The picture above shows collision configurable for capsule component. Similarly there is one set of configurables for Mesh component. Rest of the components have no such collision configurable.
To get an overview of all the collision configurables, one can click on the parent of Capsule Component (BP_FortniteCrystal here) to get the following in Details panel
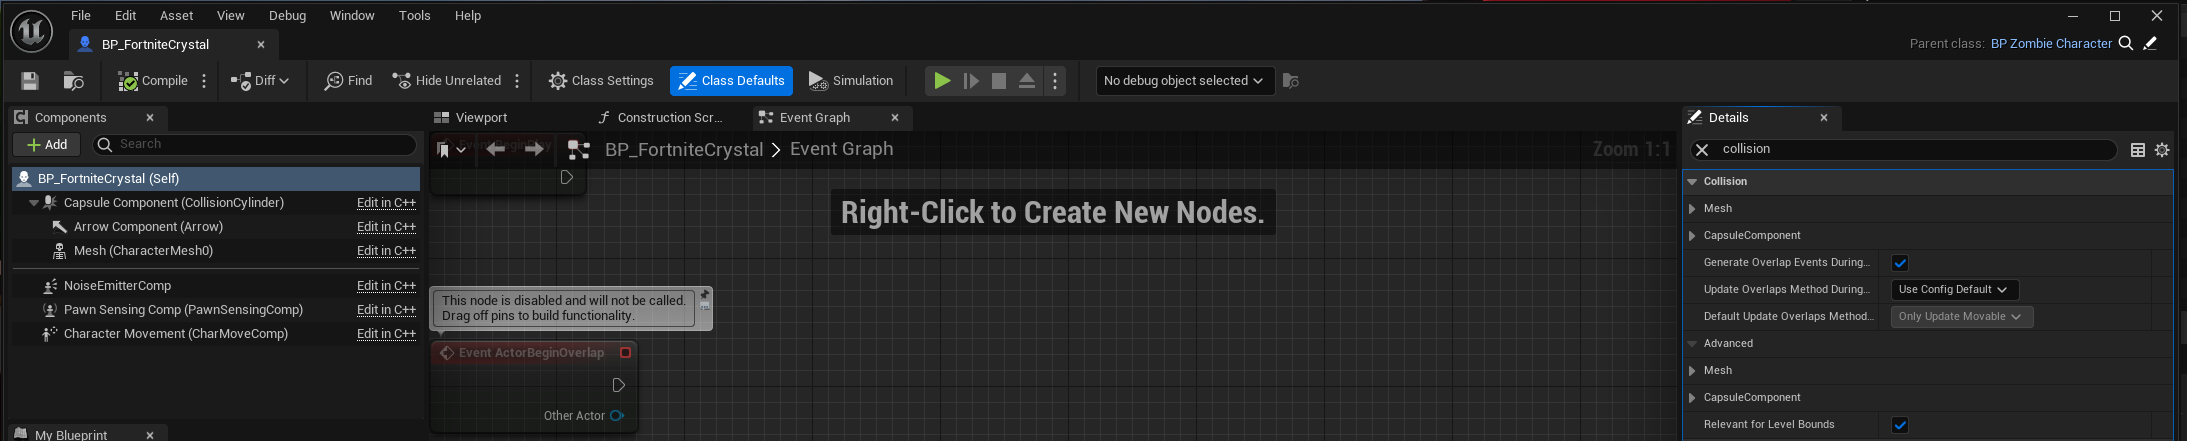
We note that collision configurables for both the mesh and capsule component are shown which pretty much sums up the collision configurable for the blueprint.
Next, we have the following configurables
- Simulation Generates Hit Events
- Generate Overlap Events
- Can Character Step Up On
- Collision Presets
Not sure what point 1 does. Point 2 makes sure that the component is involved in generating overlap events. If you want the ability for a character (a pawn with ability to walk) to step on, check point 3. Finally we come to Collision Presets
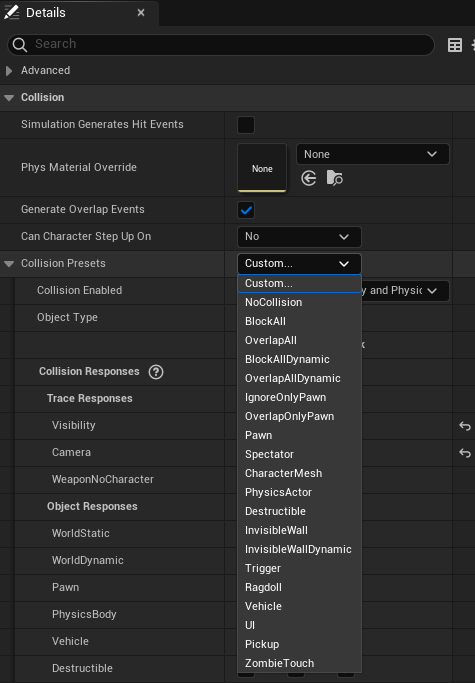
The picture above shows some default collision presets (except ZombieTouch and Ragdoll presets which are custom presets, which I may explain later). You may select the preset that best fits the component. For instance in C++ code we have the following equivalent
void ASunovatechZombieKillZoCharacter::SetRagdollPhysics(){ USkeletalMeshComponent* Mesh3P = GetMesh(); if(Mesh3P) { Mesh3P->SetAllBodiesSimulatePhysics(true); Mesh3P->SetSimulatePhysics(true); Mesh3P->WakeAllRigidBodies(); Mesh3P->bBlendPhysics = true; Mesh3P->SetCollisionProfileName(TEXT("Ragdoll"));// Go to Project Settings -> Collision -> Preset -> Ragdoll } ...}The SetCollisionProfileName selects the Collision Preset, when using C++, during runtime, when zombie character is killed and becomes a mere ragdoll.
The idea is that each Collision Preset (or profile) makes the component sensitive to raycast or spherecasts or some sort of cast (by a channel), sent from external source, appropriately (corresponding to trace).
Channels decide the nature of sensitivity, in a sense, to the trace being done. For instance, in the picture of collision presets below, there are three categories, one custom (WeaponNoCharacter) and two default (Visibility and Camera). BTW, here is Epic’s blog-post on the subject. Also objects can decide the nature of sensitivity to the trace being done.
Traces offer a method for reaching out to your levels and getting feedback on what is present along a line segment, LineTraceMultiByChannel, or sphere tube and all that (SweepTestByChannel).
Consider the following custom collision presets

for, say, skeletal mesh component. This implies that the component registers blocking hit only for WeaponNoCharacter channel trace and ignores Visibility and Camera channel traces.
Similarly the component is sensitive only to the objects of WorldStatic, WorldDynamic, PhysicsBody, and Destructibles category.
A custom trace channel is created in Project Settings
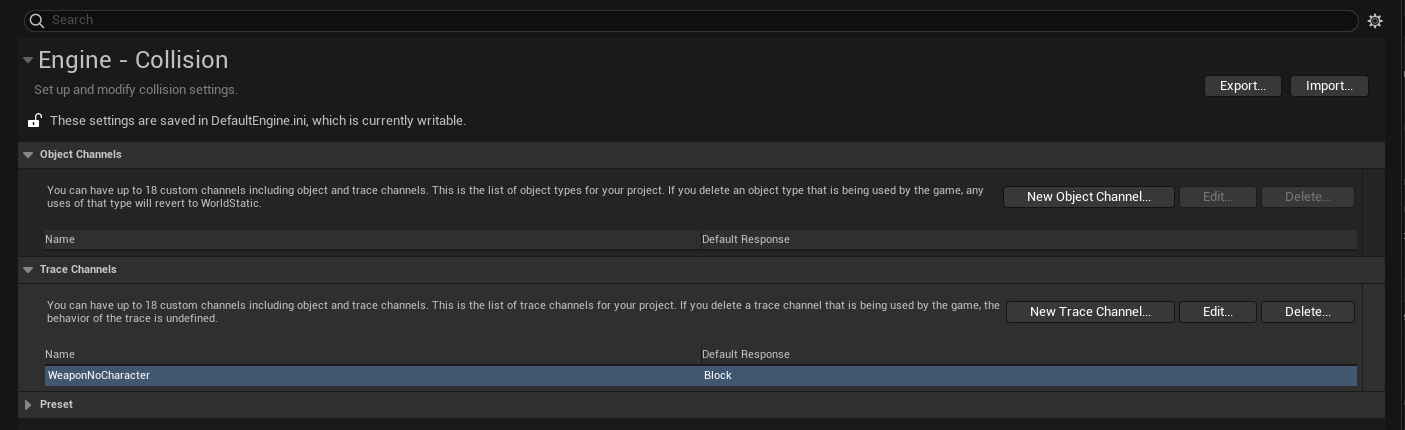
and to use in C++, open Config/DefaultEngine.ini and look for the channel name (here WeaponNoCharacter). You may find something like
+DefaultChannelResponses=(Channel=ECC_GameTraceChannel6,DefaultResponse=ECR_Block,bTraceType=True,bStaticObject=False,Name="WeaponNoCharacter")Finally in C++ you can use the channel by proper name ECC_GameTraceChannel6.


